Engine swap with photo's mk1 1.6
Posted: Fri Nov 07, 2014 12:31 pm
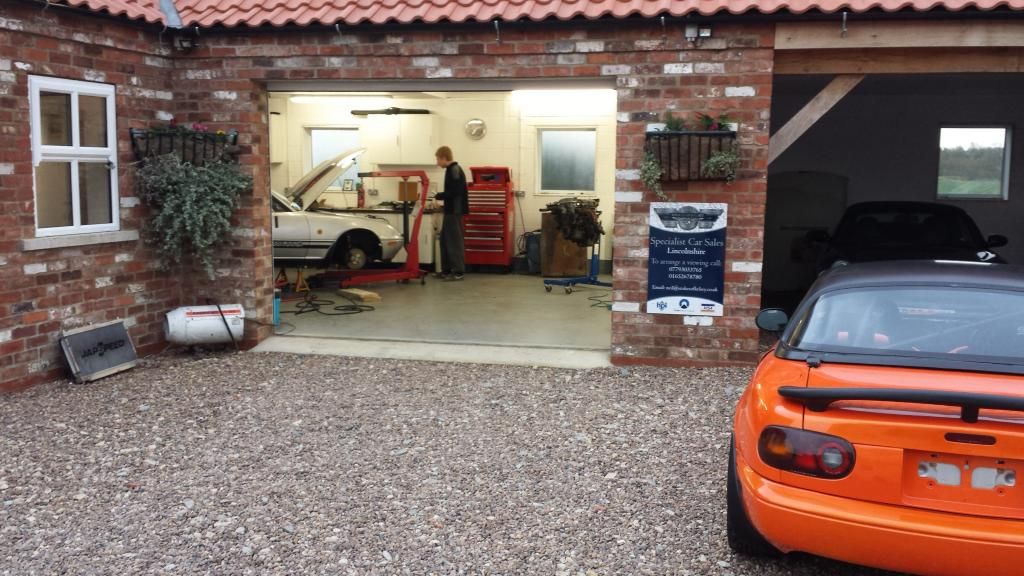
This weeks project.
Swapping out a sick 1.6 engine for another.
The old engine suffered a lack of oil with a split turbo return pipe, and it sadly became a bit poorly. Cheapest solution was to swap it for another.
The new engine was the right price but unfortunately a short nose engine that was very oily. This meant the crank pulley had to come off to replace the oil seal. Special attention has to be given to the short nose engine as the front pulley is it's week spot. Also the tightening torque for the front crank bolt is lower than Haynes manuals says. It should be set at 80-87lb/ft. So while I was at it, I changed all the oil seals and gave it a quick clean.
Crossing fingers at start up because you never know with used engines. Sweet happy days
So this will be a long picture thread of the work.
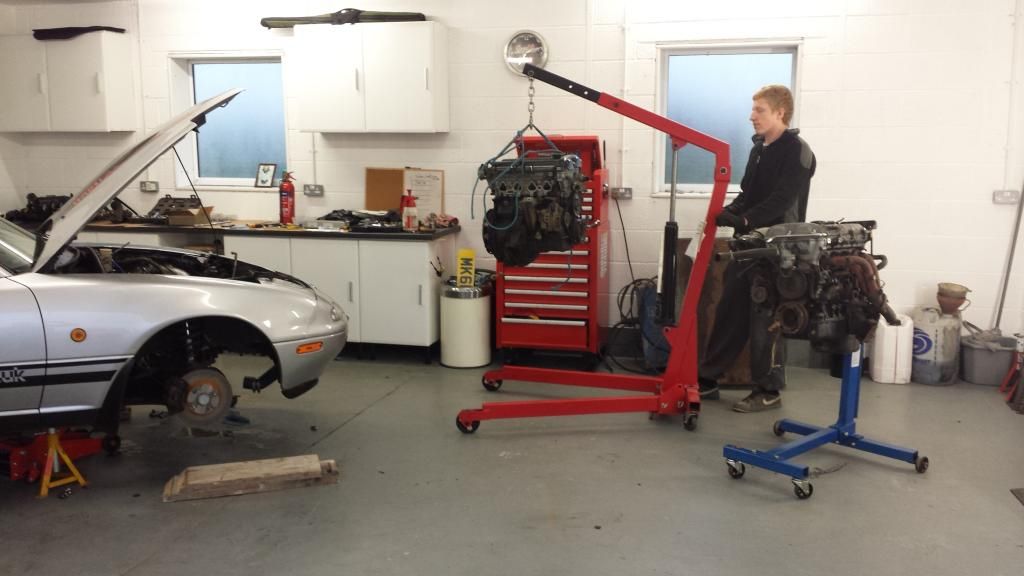
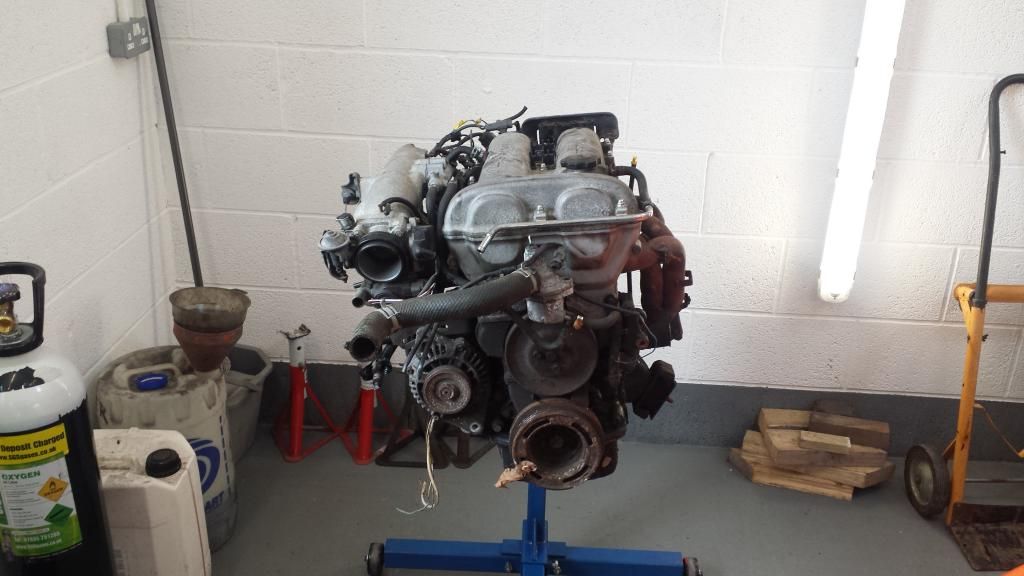
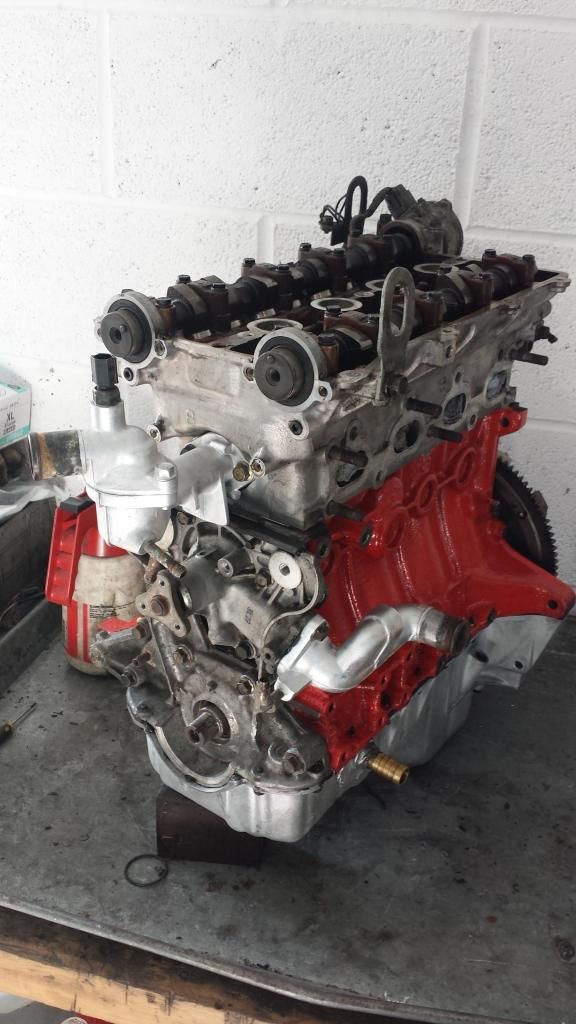
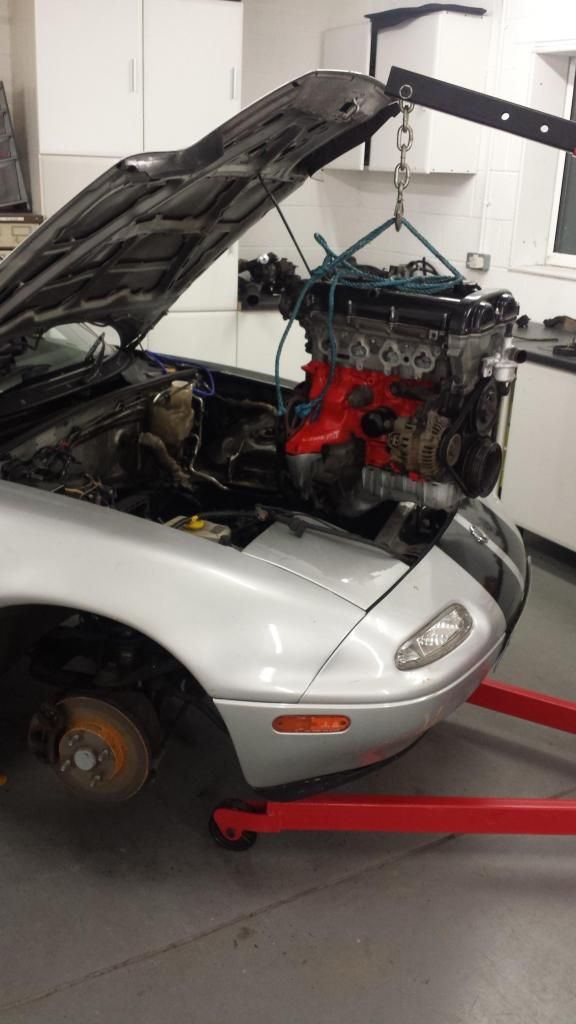
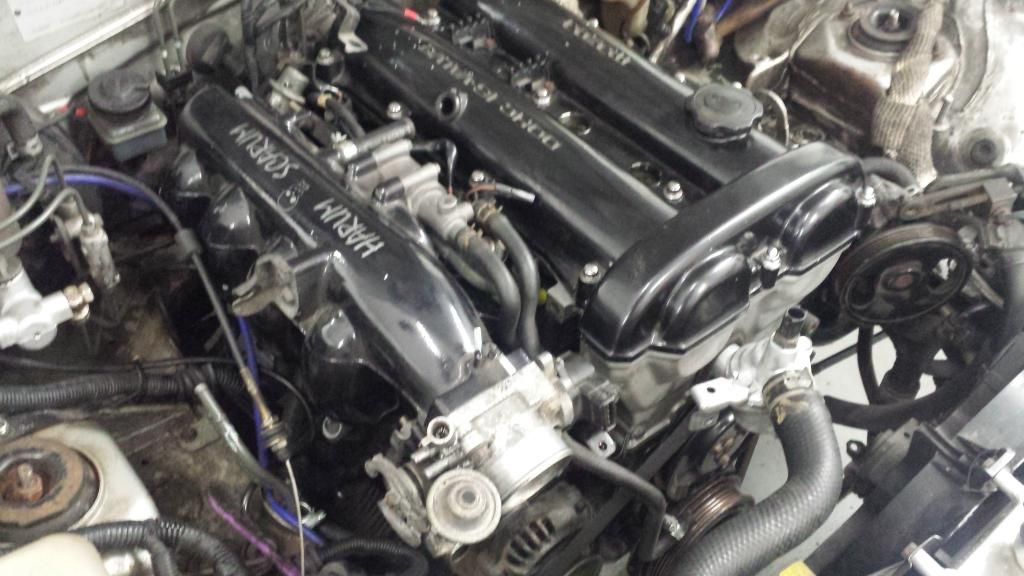
The start ! New engine sat on the cradle and the old lump about to be taken out.
This is an older pic of the engine that's coming out with it's turbo and pipes etc.
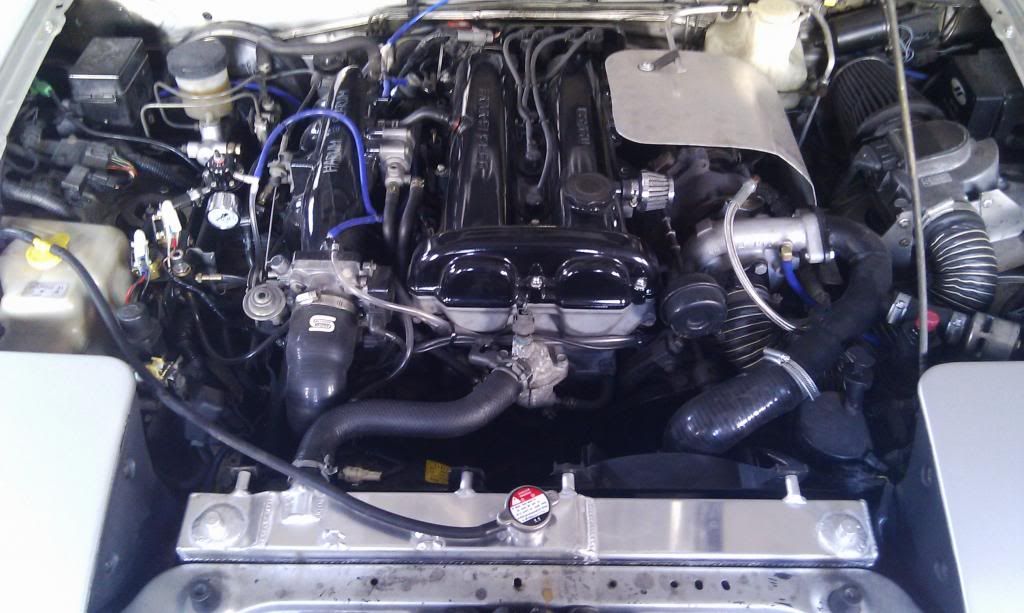
I find it easier to remove the inlet manifold completely. this gives better access to the starter motor. The turbo has been taken off too.
Engine out. That's the easy bit done. You will also need a jack under the gearbox to lift it a little while clearing the engine mounts from the subframe.
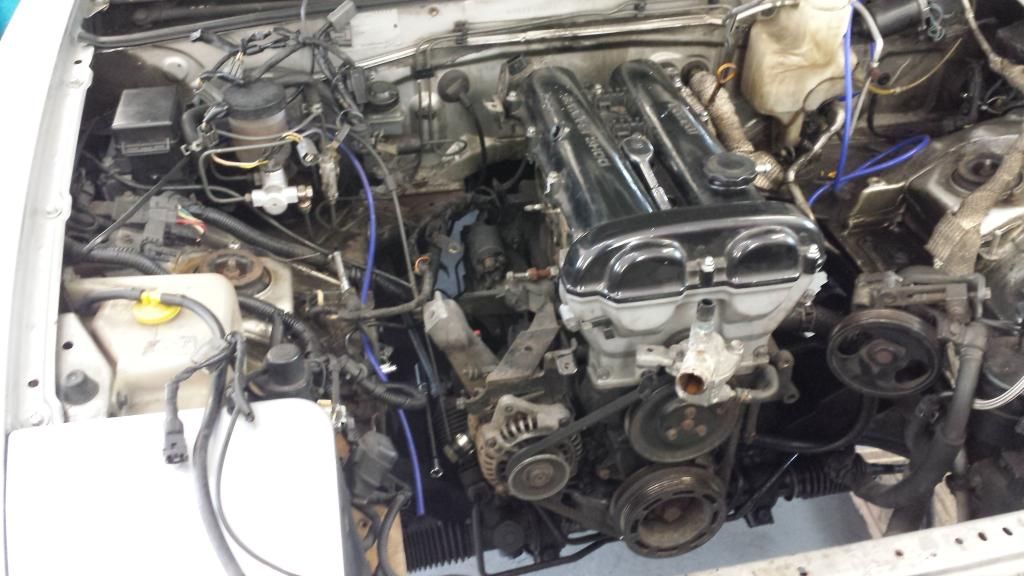
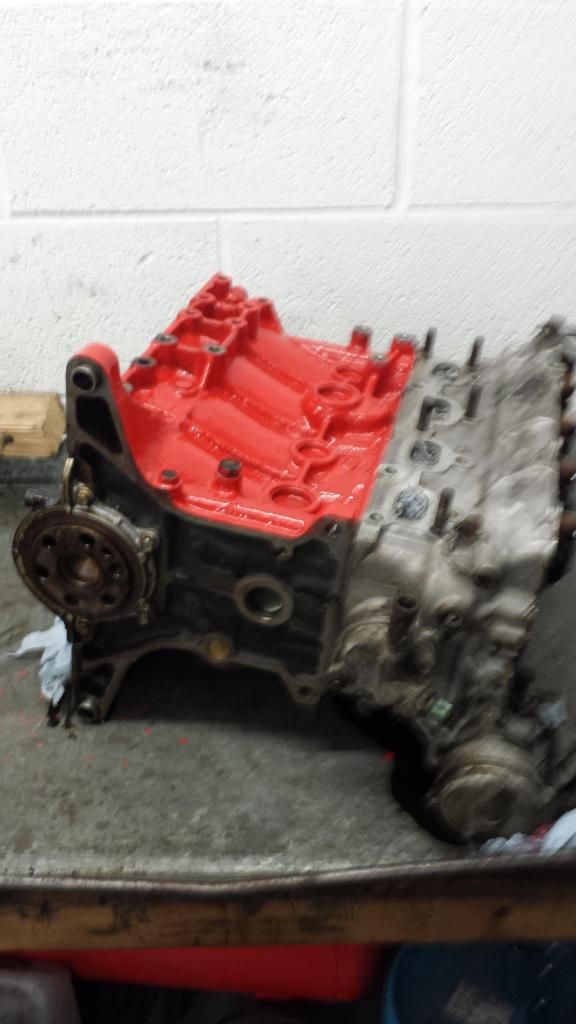
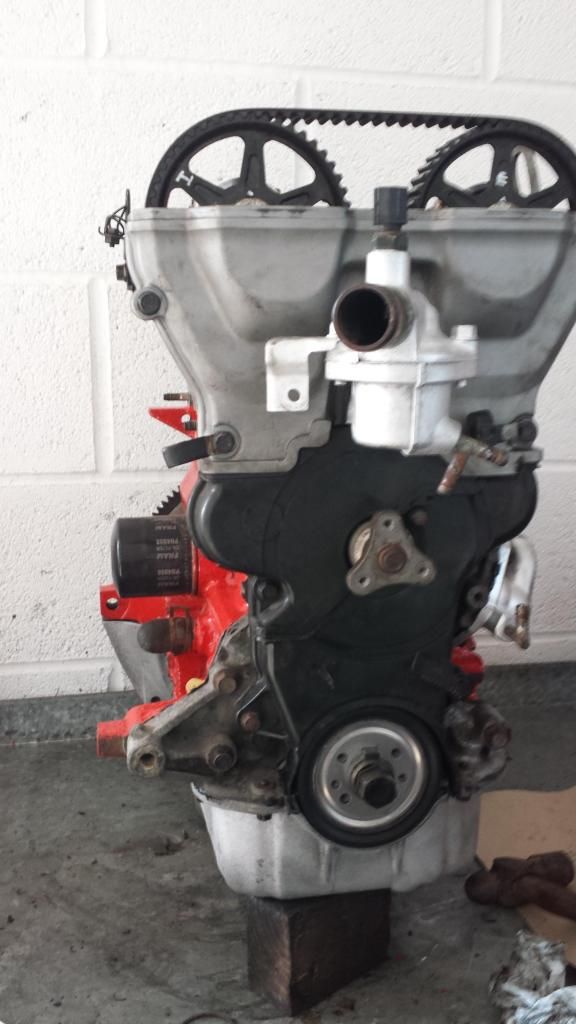
Engine to go in. Note the crank pulley has 4 slots (and a leaf by looks of it lol) this is the short nose engine. the long nose has 8 slots.
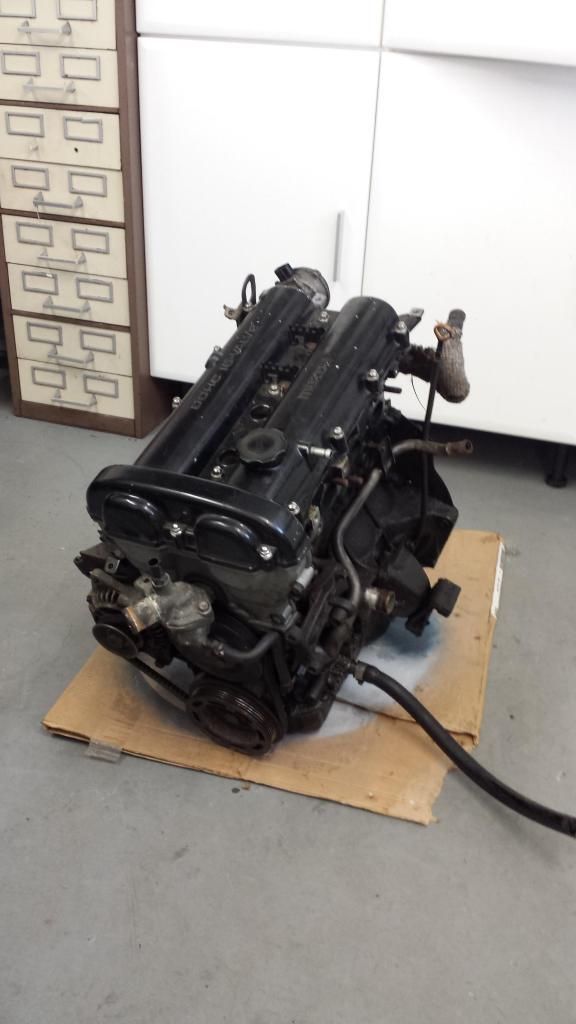
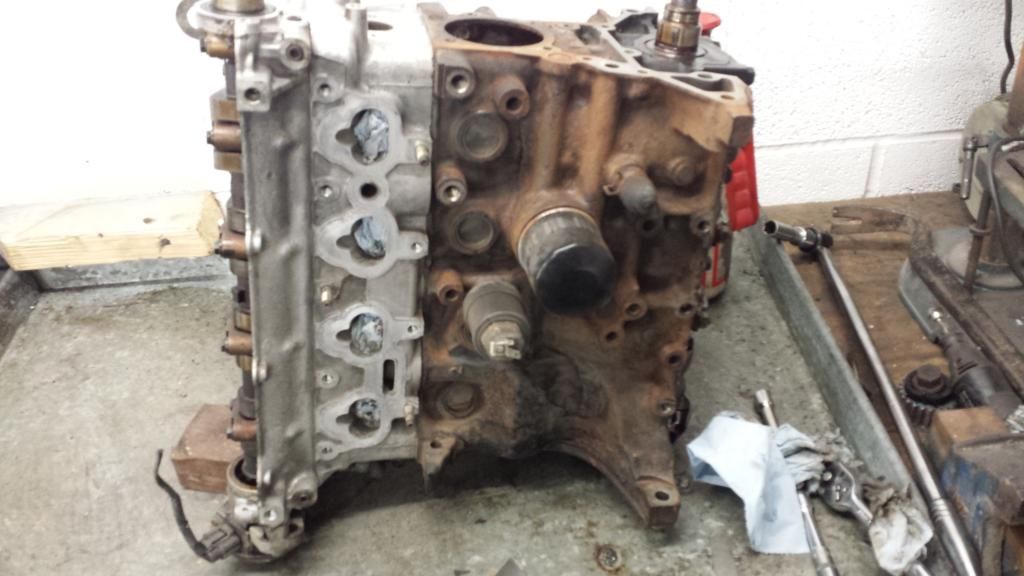
The old engine.
Sorry missing a few photo's. The new engine had had a wash in brake cleaner etc. I had decided to re new all it's oil seals and so the front crank pulley had to come off. Normally they fall off and that's their problem coming loose. Not this one, I had to fight it off as the pulley was well rusted on. I needed a lot of heat to get it to move. Sh#t or bust as they say. Anyway it's off but damaged so off to order a new one.
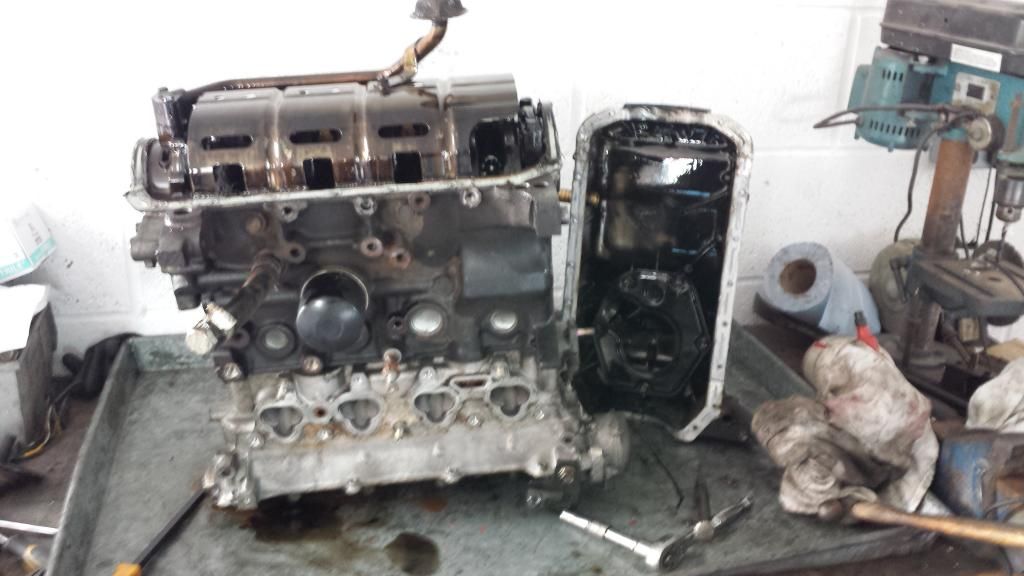
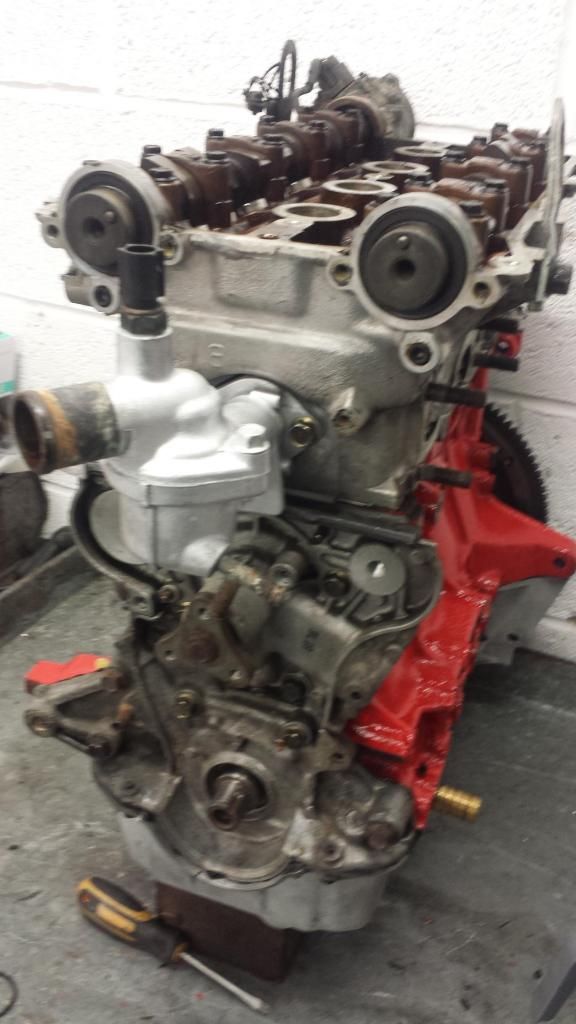
The engine was stripped bare. Oil pump off, manifolds, water pump, sump, rocker cover, clutch, flywheel etc.
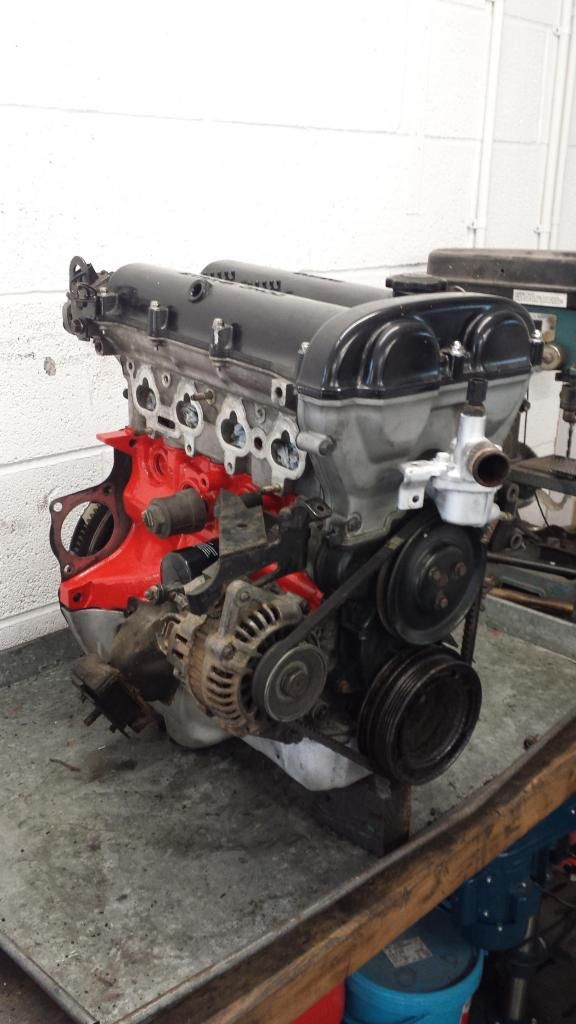
Then a bit more cleaning and painting.
Then it was put to one side for paint to dry and parts to arrive.
The old engine had a new water pump and a modified sump for an oil return from the turbo. This needed pulling off too.
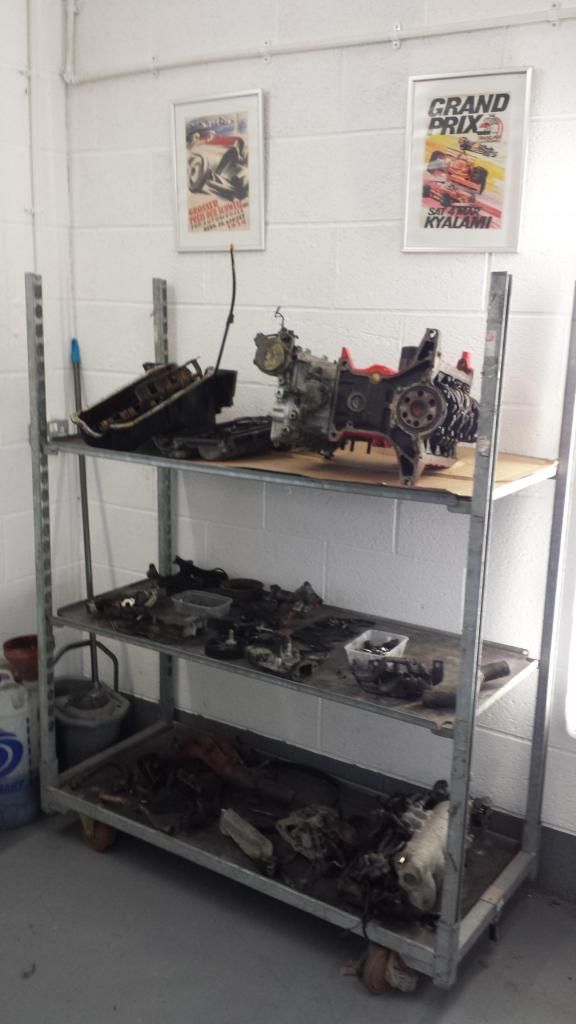
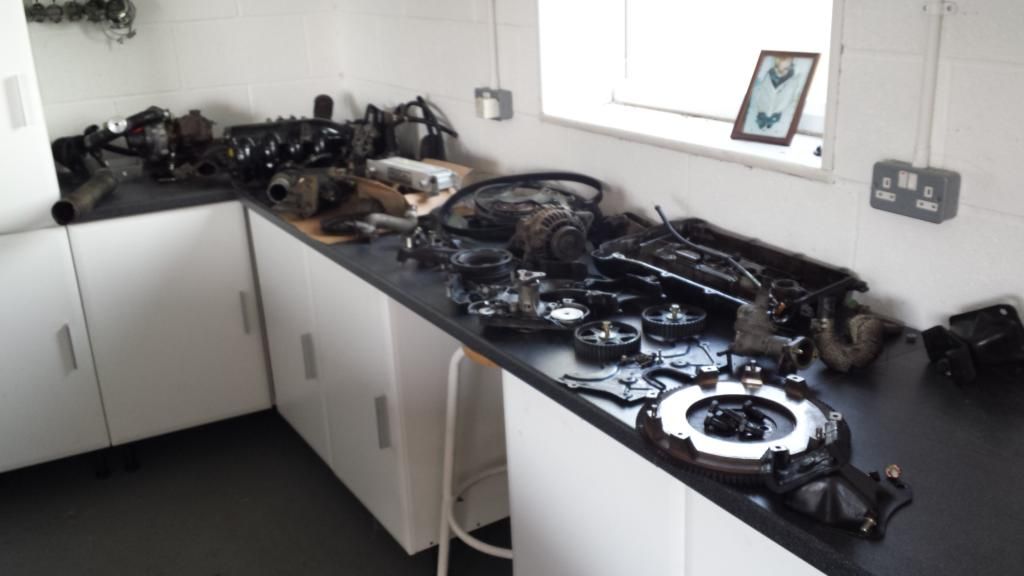
All the parts taken from the old engine waiting to go on the new one.
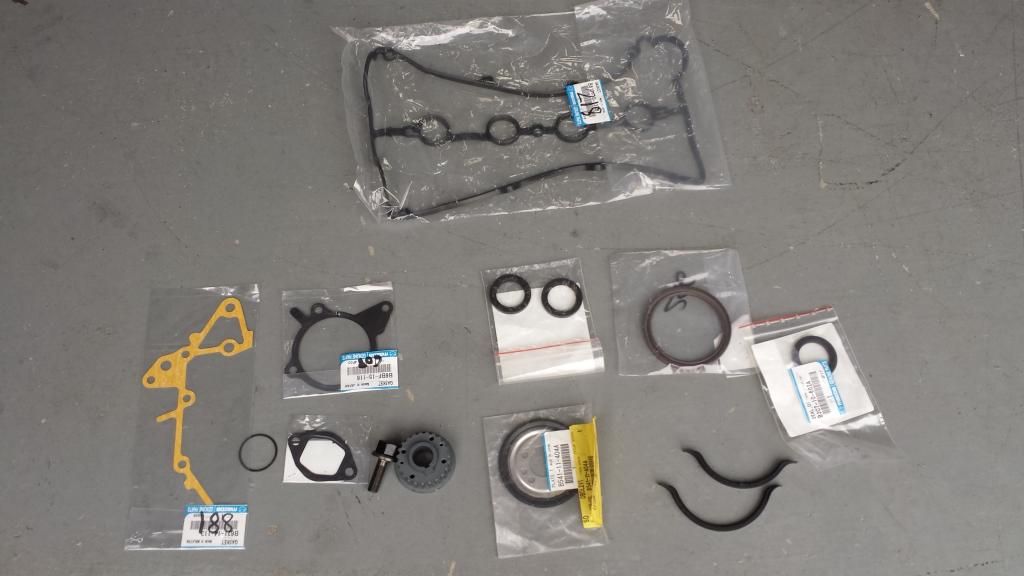
Parts have arrived. £230 for those seals at a discounted price too. Double the engine price just for seals but they are oil genuine Mazda parts that won't leak hopefully. I've used none genuine before and had to do the job twice!
So rebuild time..
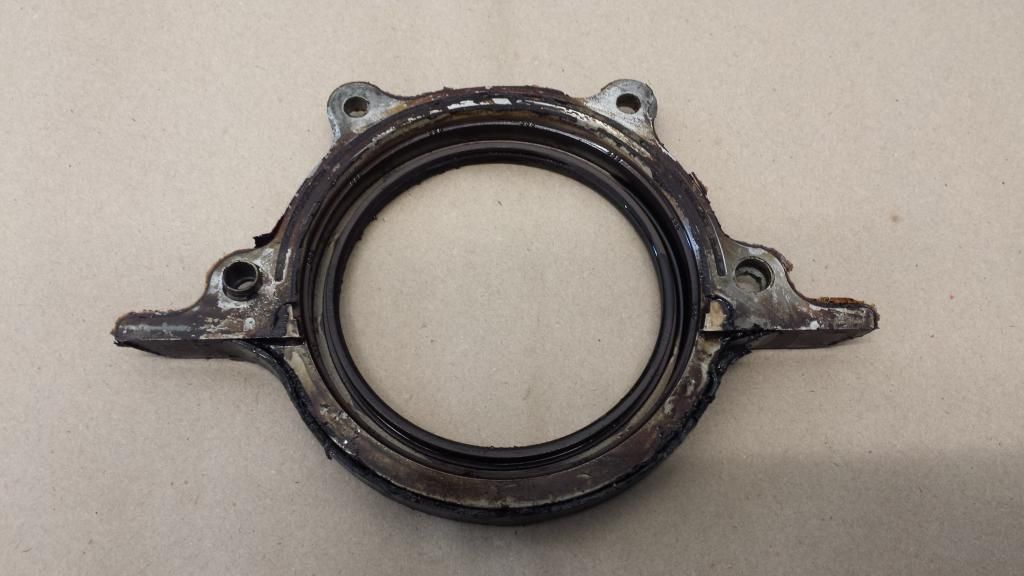
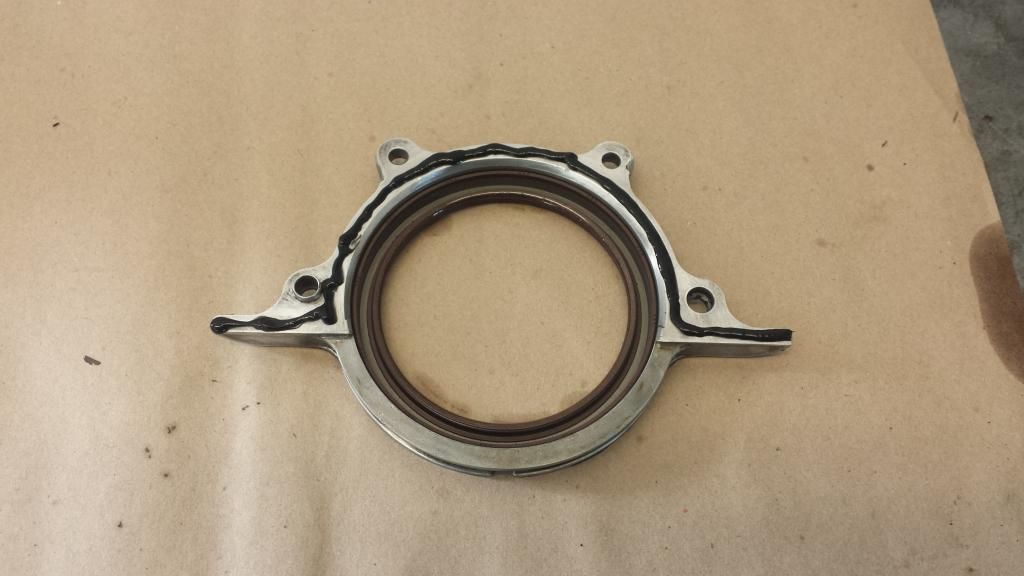
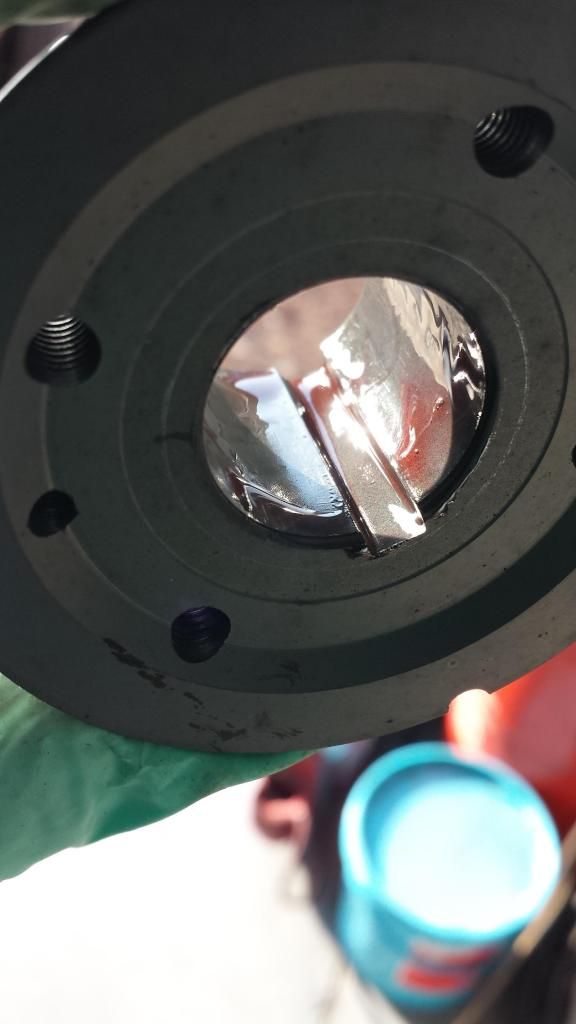
Rear crank oil seal as it came off. Needs a clean!
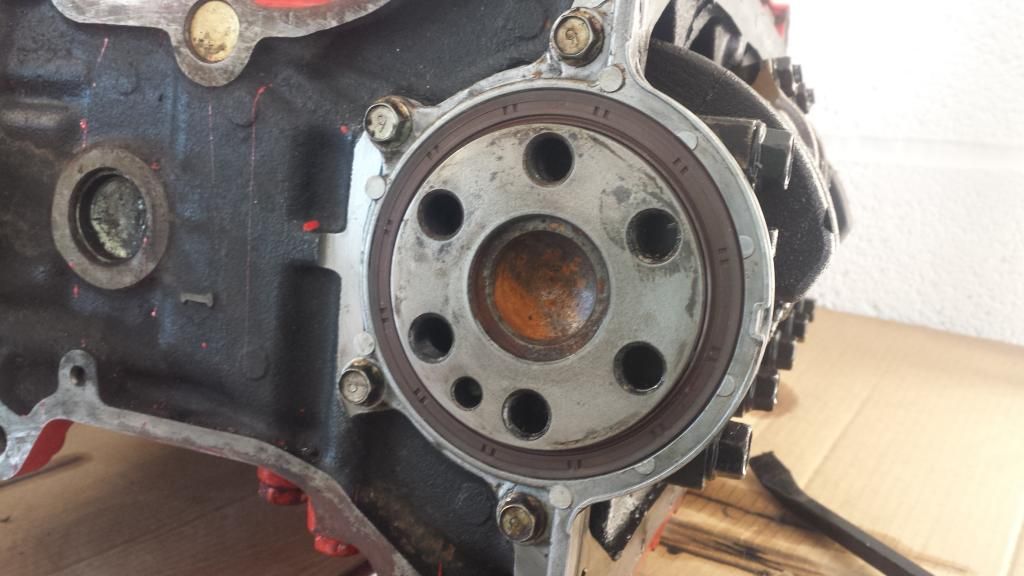
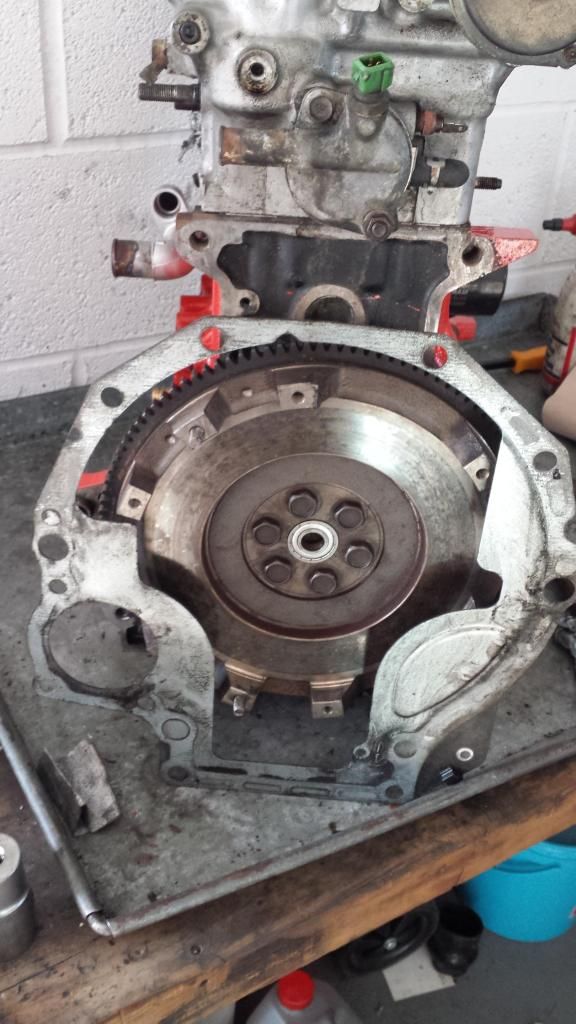
Oil seal is on so flywheel can go on. Spot the mistake.
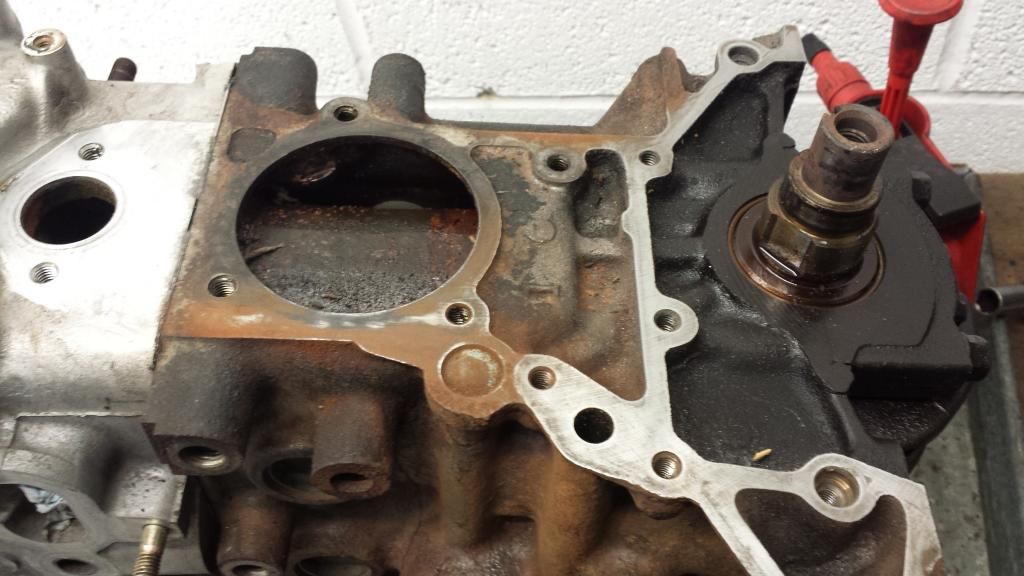
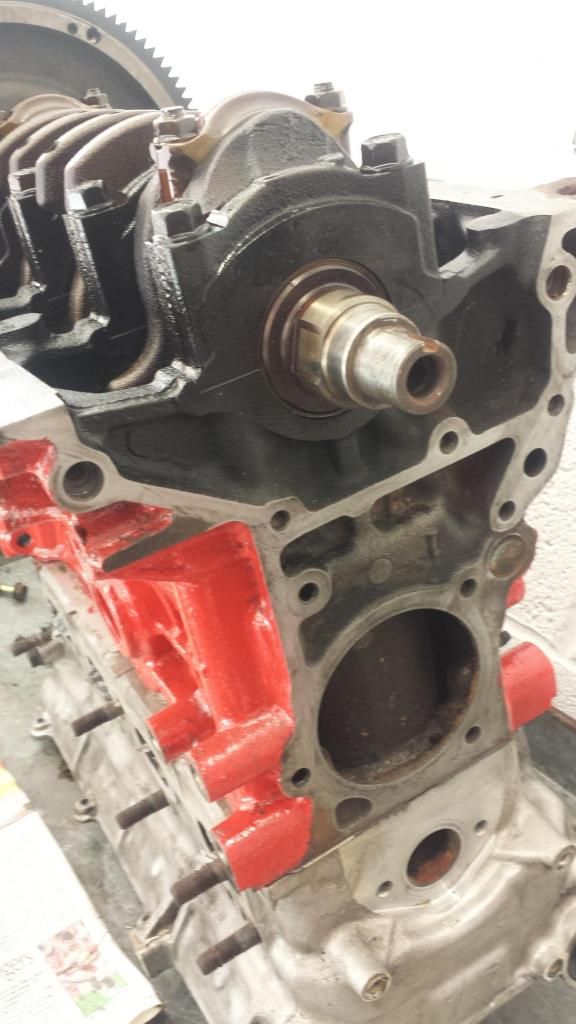
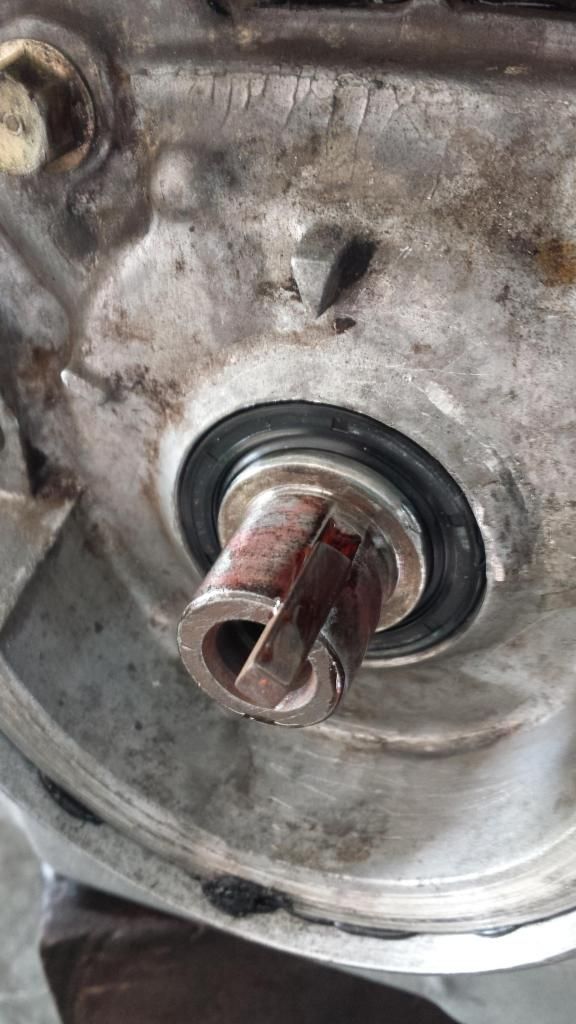
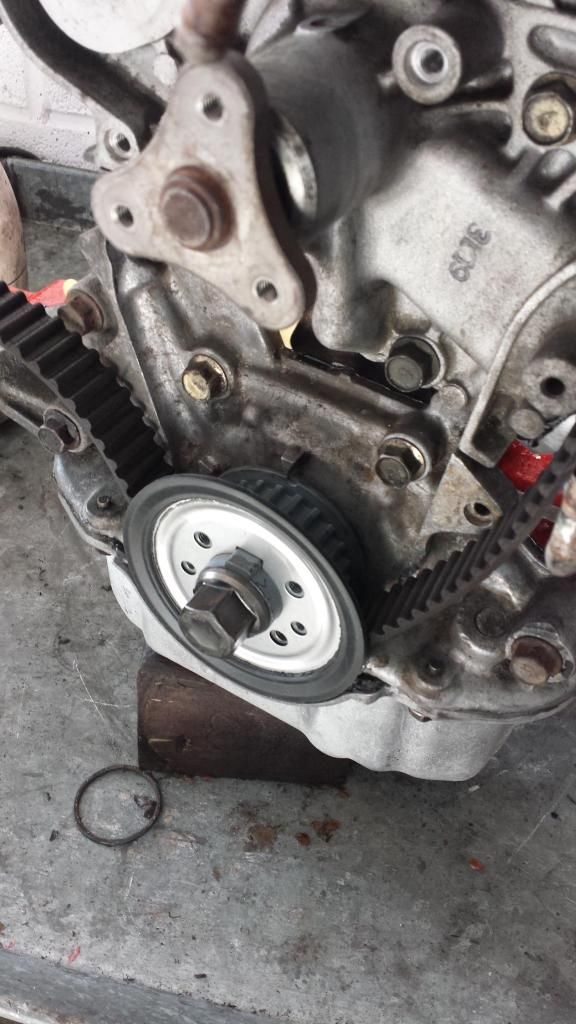
The front of the engine is cleaned up ready.
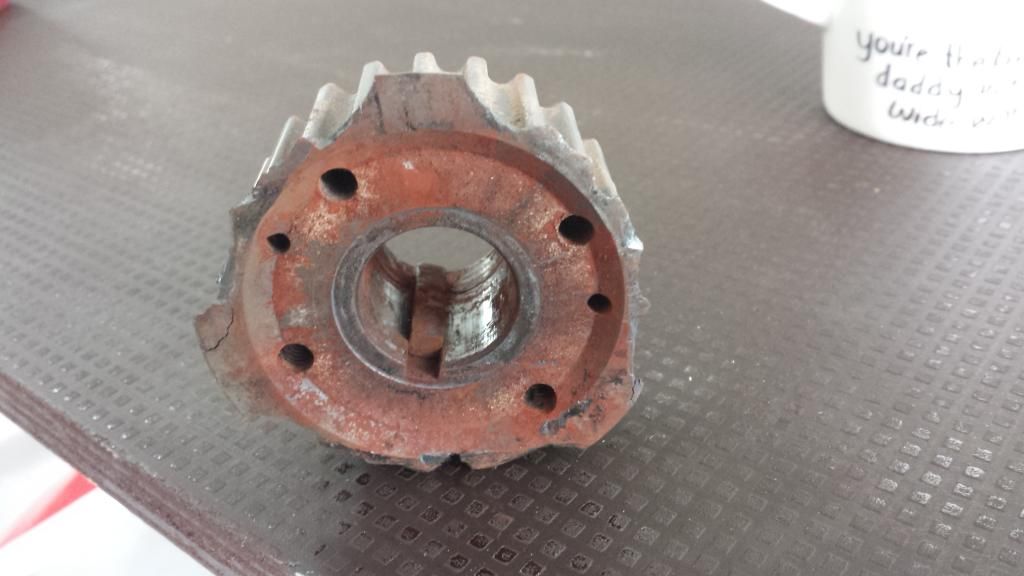
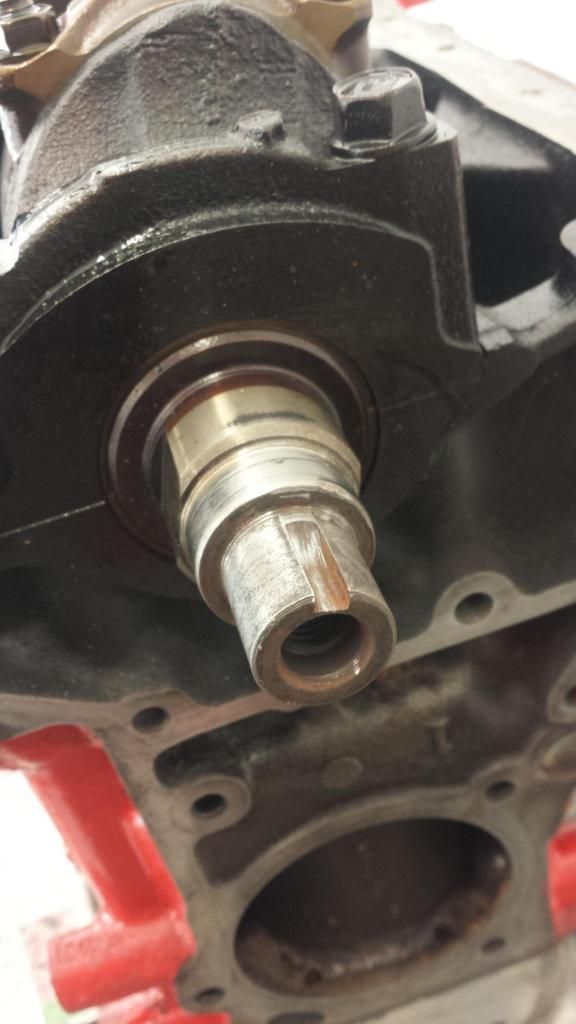
The all important crank pulley Key way is spot on.
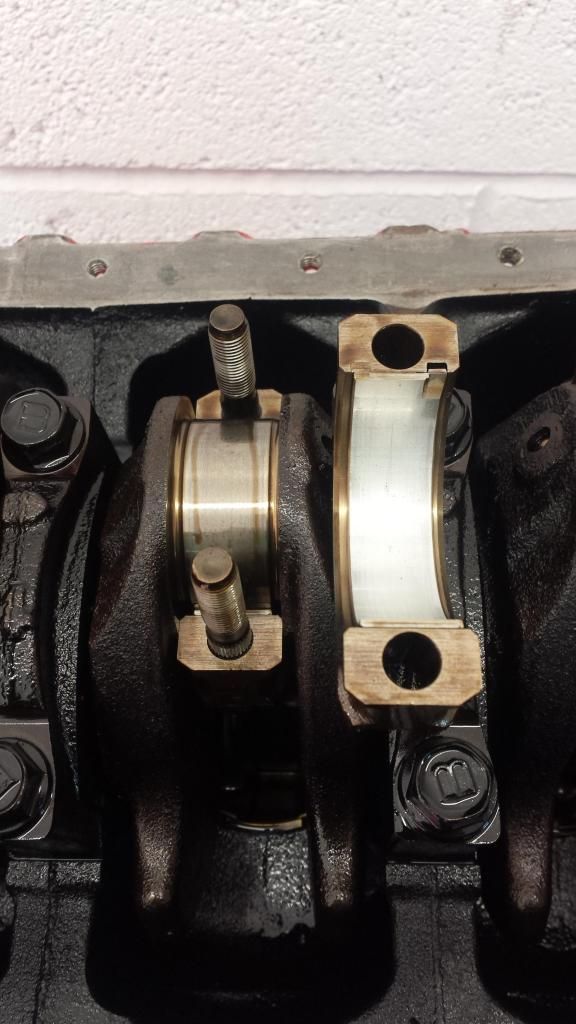
A check of a Big end bearing and a Main bearing. perfect
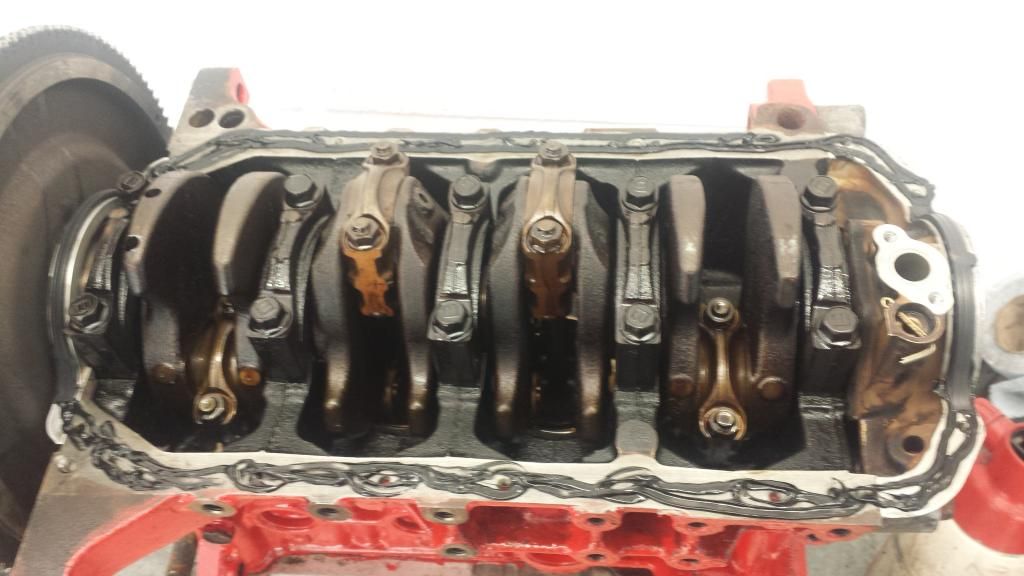
Missed a pic of the oil pump going on. The engine is upside down ready to accept the sump.
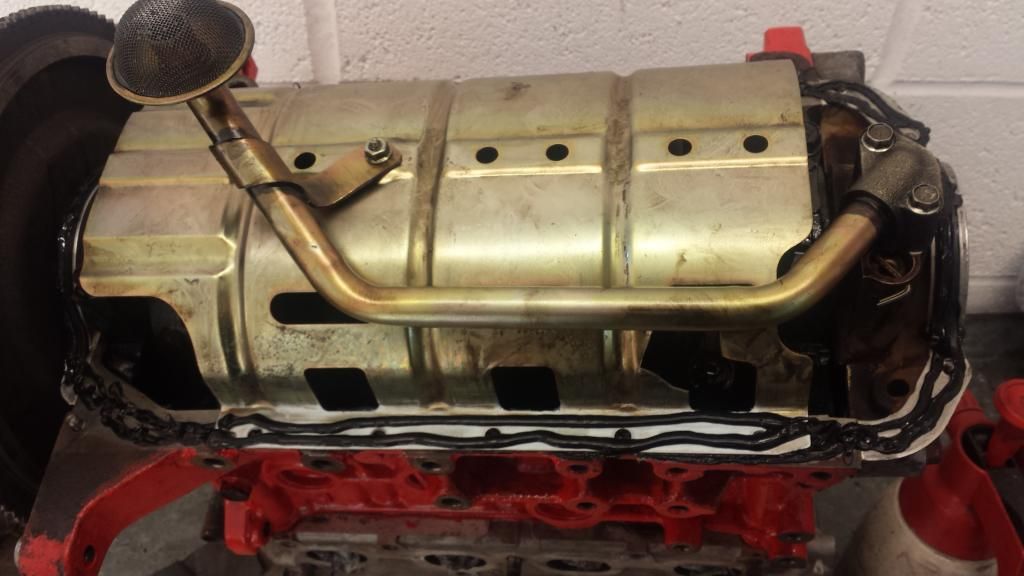
and the Sump baffle plate and oil pick up pipe.
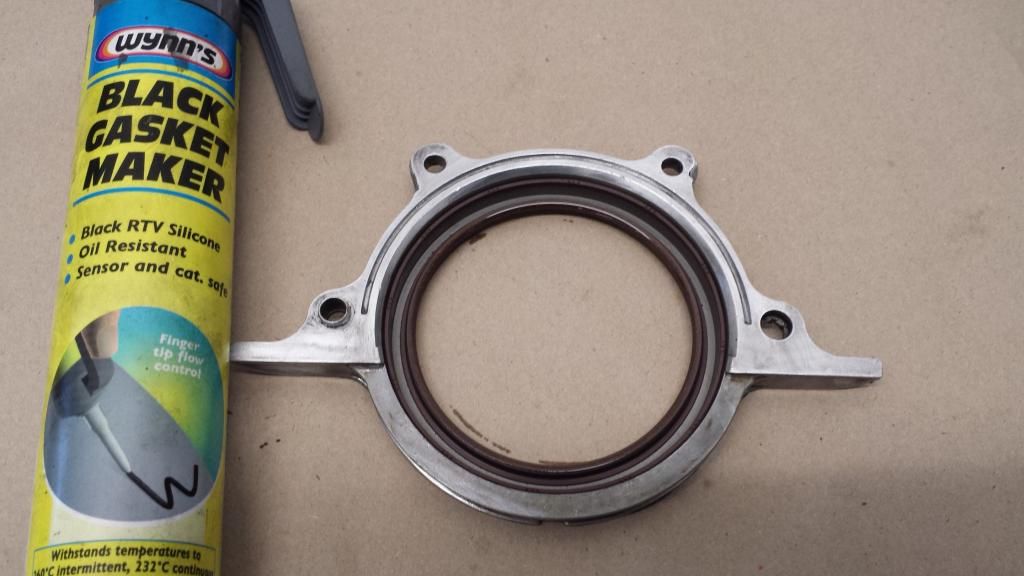
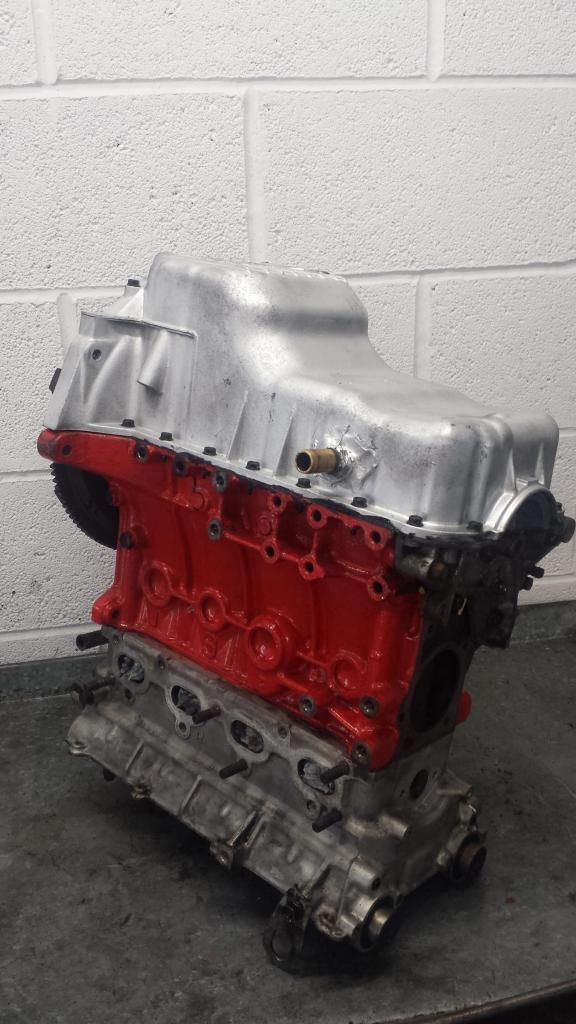
The brass fitting is threaded into the sump with the chemical metal is back up. Turbo oil return.
Water pump ready.
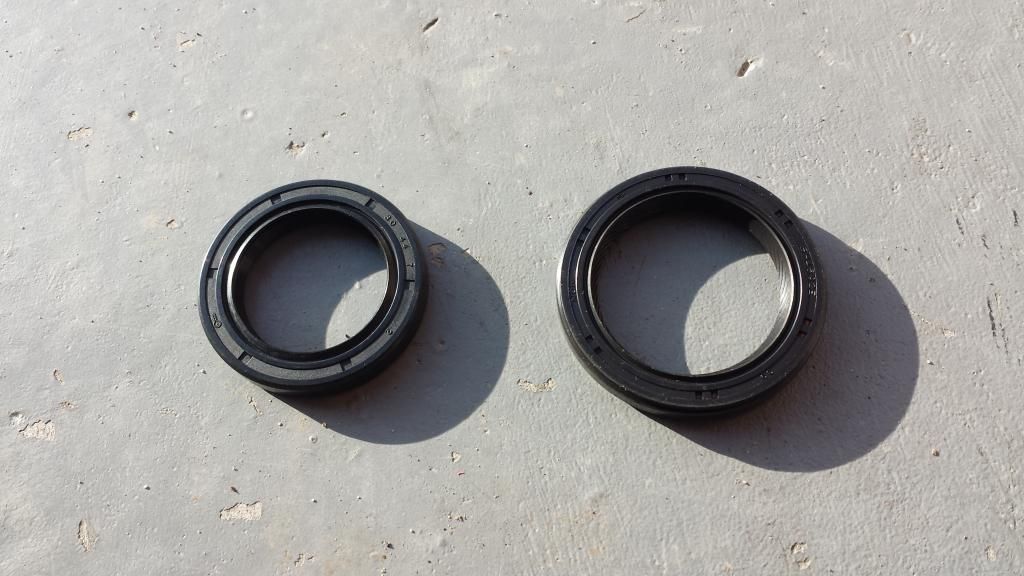
on the left short nose oil seal. right is long nose oil seal. You cannot swap oil pumps.
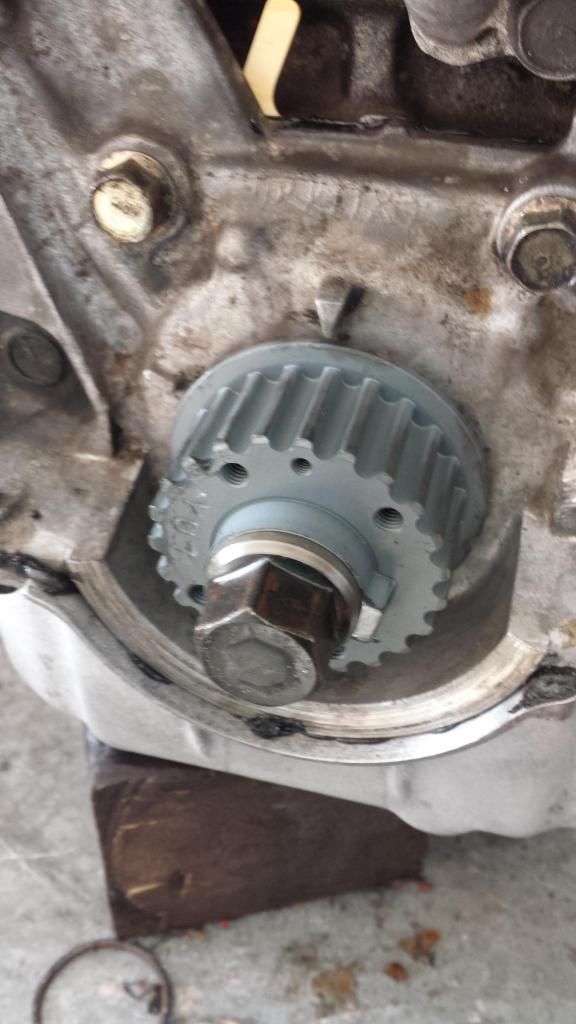
Belt and braces for the short nose crank pulley. This is quality bearing fit to secure the pulley. The pulley is new and the bolt is new, as they are a stretch bolt to be used only once. the bolt also has thread lock applied.
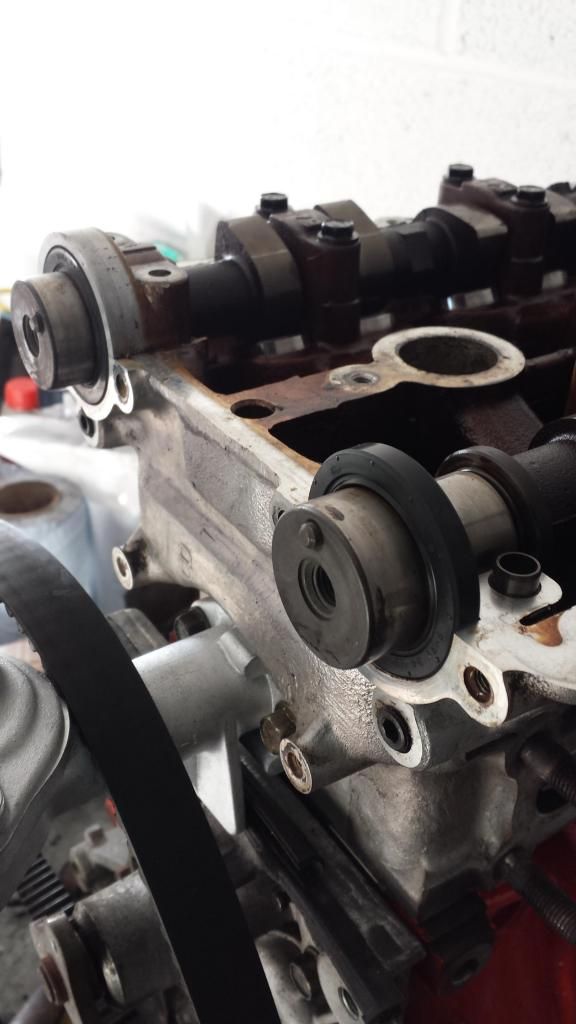
New cam shaft oil seals.

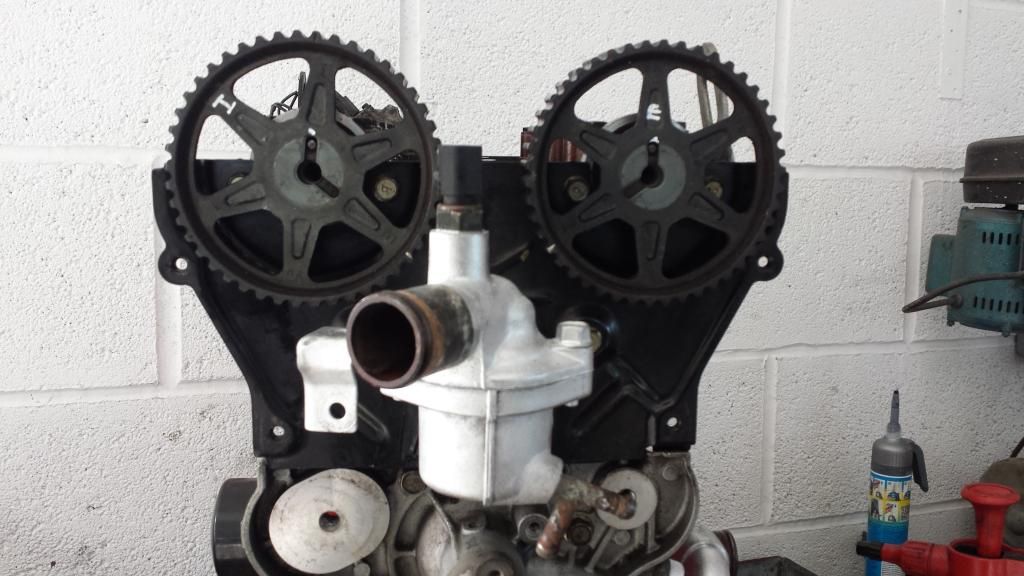
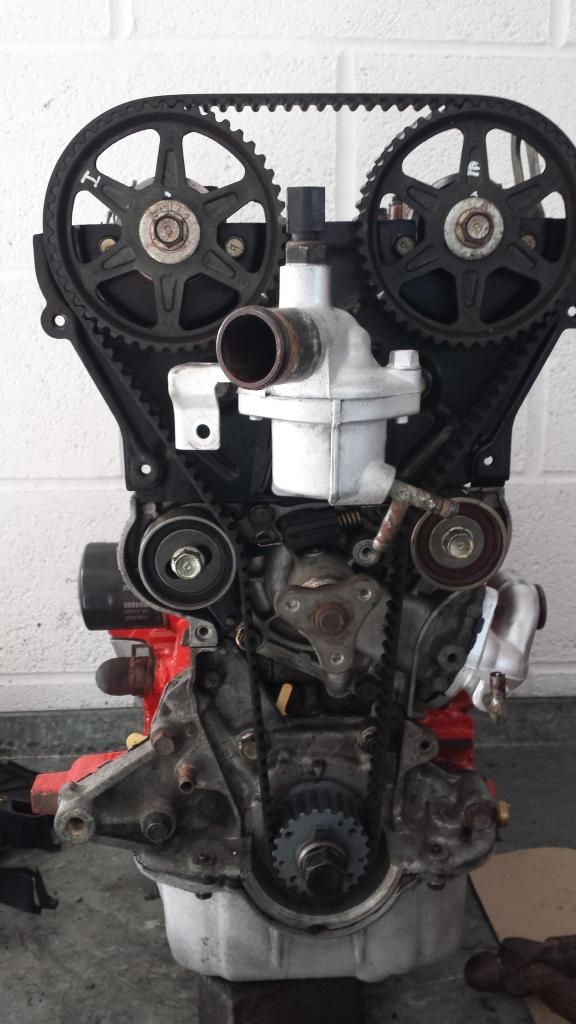
Cam belt fitted
Here is the mistake from earlier. No biggy but the back plate needs to be behind the flywheel.
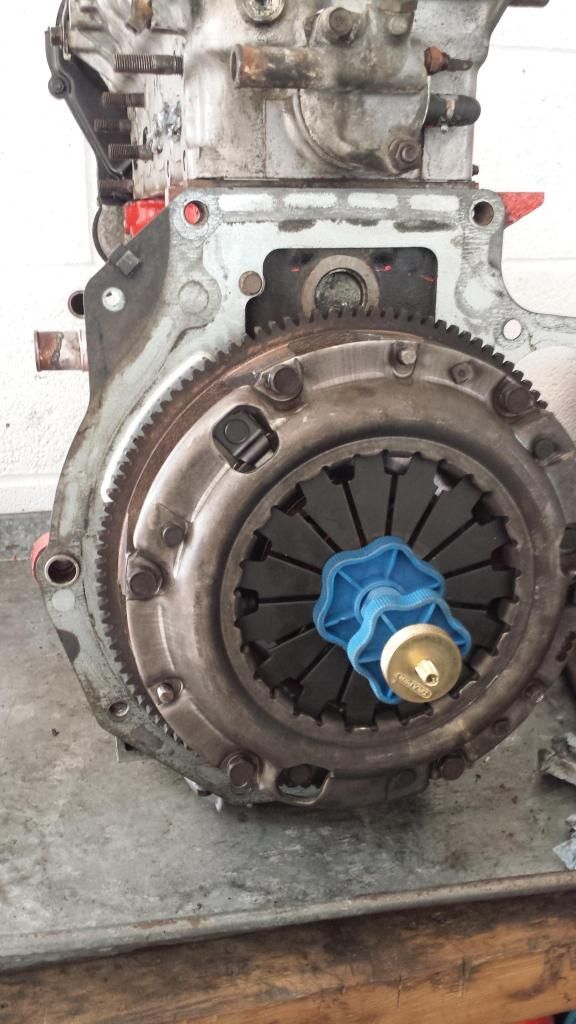
clutch aligned and going on.
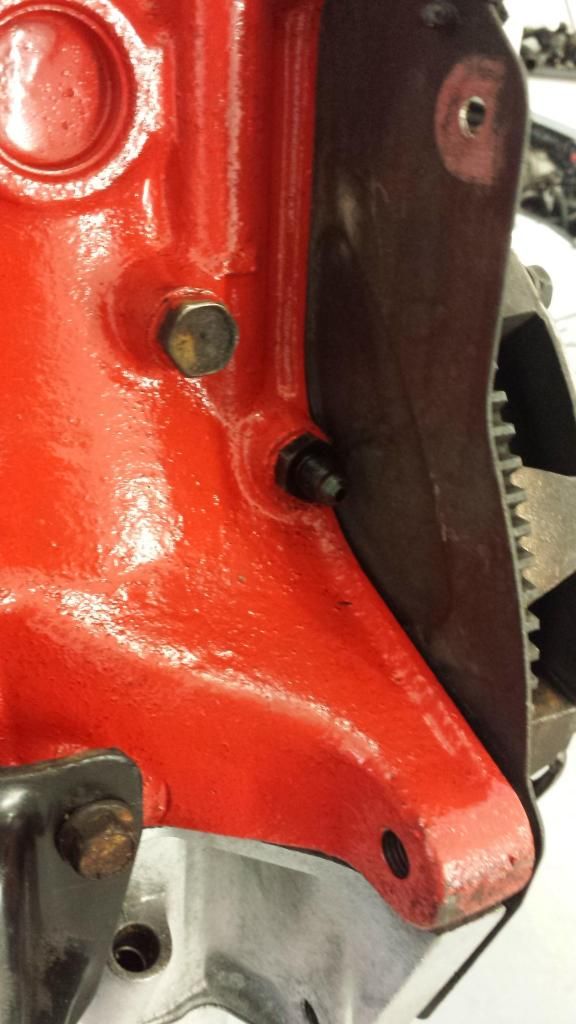
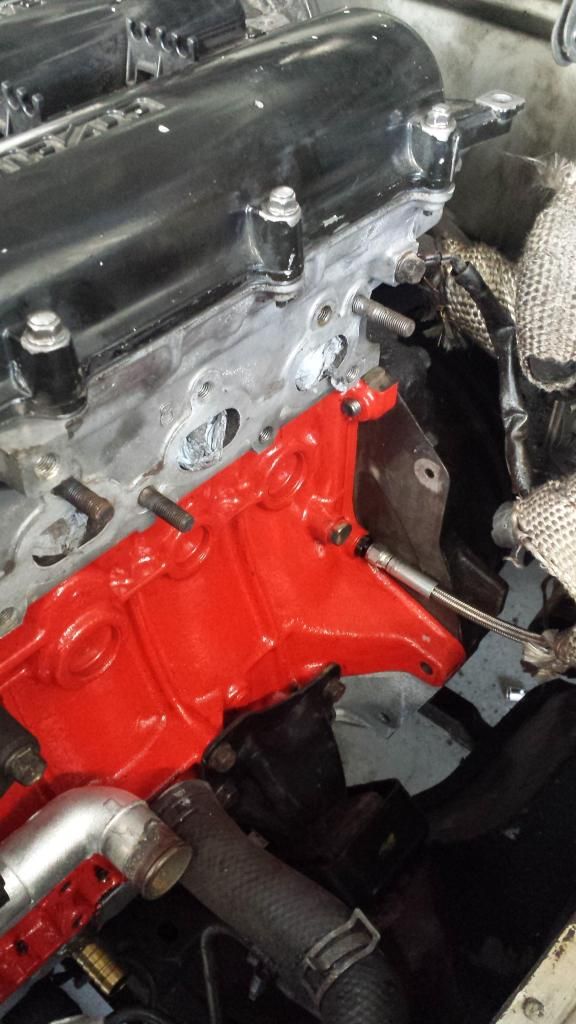
If you need a turbo oil feed then this is it. The rear one in the pic
Here we go.
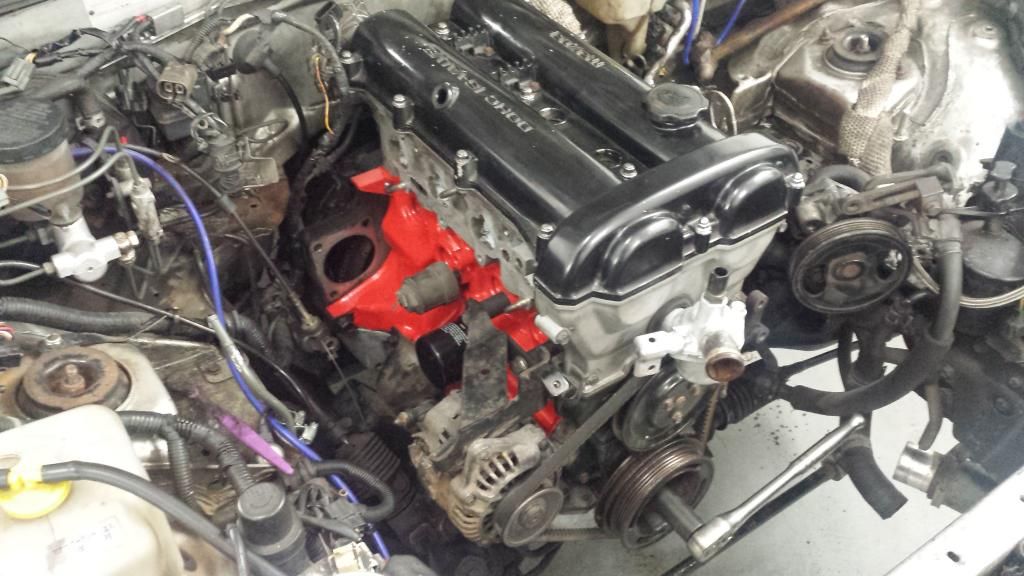
Starter motor on before the manifold. Also easy to get at the bell housing bolts to bolt the engine in.
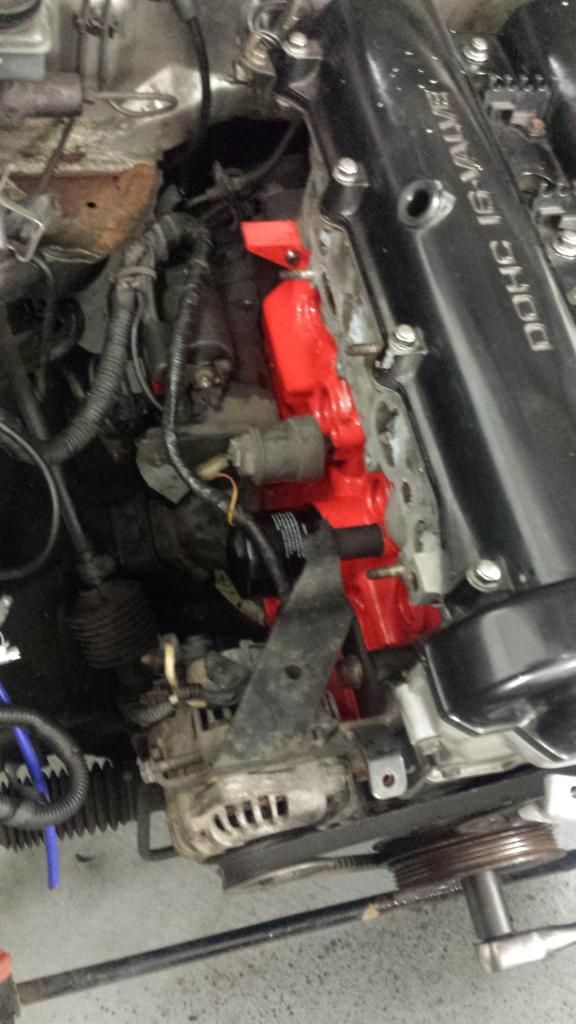
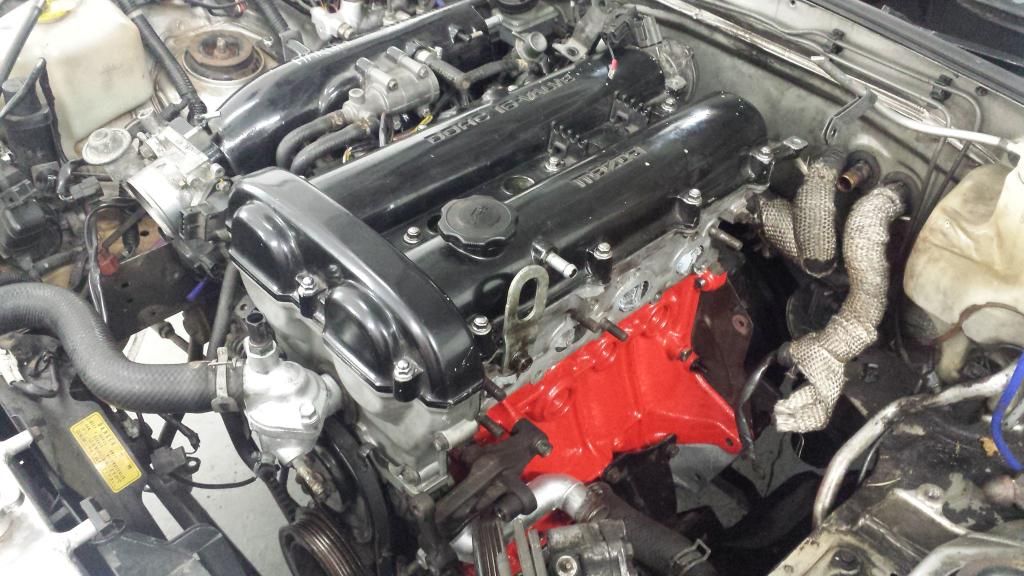
See the braided hose for the turbo oil feed.
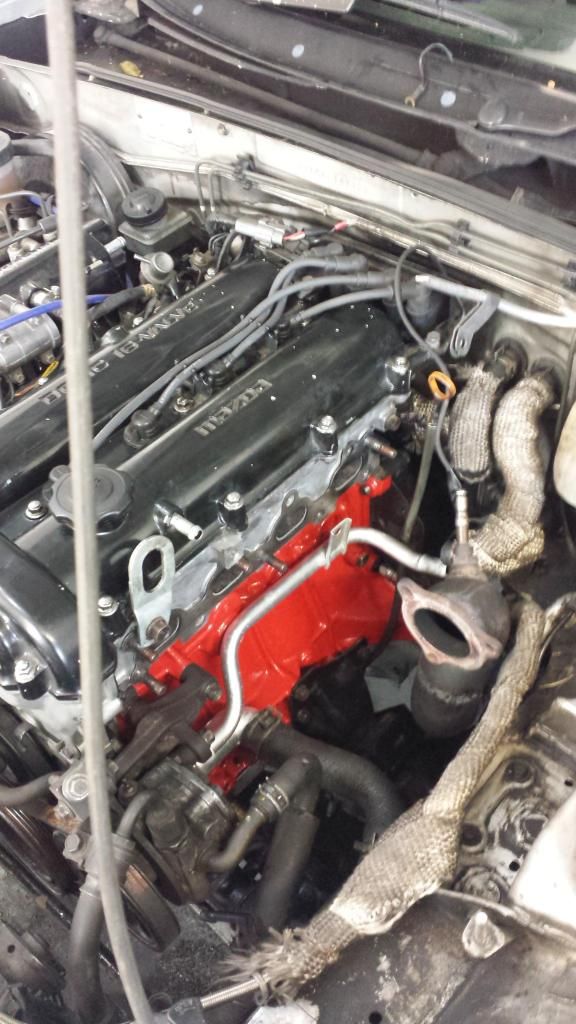
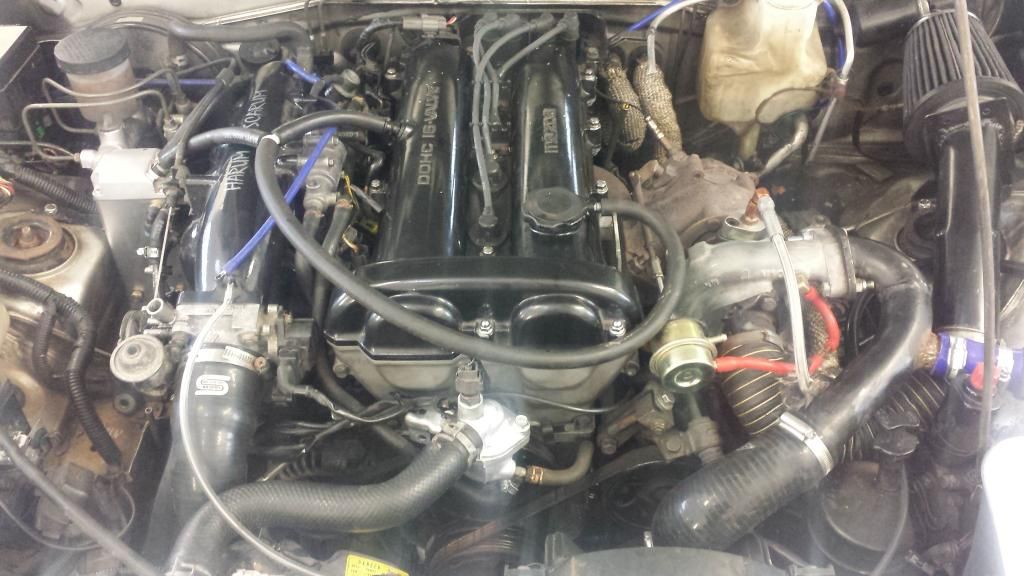
One day the engine bay will get a clean too.
All done and runs a dream. Happy days.
Swapping out a sick 1.6 engine for another.
The old engine suffered a lack of oil with a split turbo return pipe, and it sadly became a bit poorly. Cheapest solution was to swap it for another.
The new engine was the right price but unfortunately a short nose engine that was very oily. This meant the crank pulley had to come off to replace the oil seal. Special attention has to be given to the short nose engine as the front pulley is it's week spot. Also the tightening torque for the front crank bolt is lower than Haynes manuals says. It should be set at 80-87lb/ft. So while I was at it, I changed all the oil seals and gave it a quick clean.
Crossing fingers at start up because you never know with used engines. Sweet happy days
So this will be a long picture thread of the work.
The start ! New engine sat on the cradle and the old lump about to be taken out.
This is an older pic of the engine that's coming out with it's turbo and pipes etc.
I find it easier to remove the inlet manifold completely. this gives better access to the starter motor. The turbo has been taken off too.
Engine out. That's the easy bit done. You will also need a jack under the gearbox to lift it a little while clearing the engine mounts from the subframe.
Engine to go in. Note the crank pulley has 4 slots (and a leaf by looks of it lol) this is the short nose engine. the long nose has 8 slots.
The old engine.
Sorry missing a few photo's. The new engine had had a wash in brake cleaner etc. I had decided to re new all it's oil seals and so the front crank pulley had to come off. Normally they fall off and that's their problem coming loose. Not this one, I had to fight it off as the pulley was well rusted on. I needed a lot of heat to get it to move. Sh#t or bust as they say. Anyway it's off but damaged so off to order a new one.
The engine was stripped bare. Oil pump off, manifolds, water pump, sump, rocker cover, clutch, flywheel etc.
Then a bit more cleaning and painting.
Then it was put to one side for paint to dry and parts to arrive.
The old engine had a new water pump and a modified sump for an oil return from the turbo. This needed pulling off too.
All the parts taken from the old engine waiting to go on the new one.
Parts have arrived. £230 for those seals at a discounted price too. Double the engine price just for seals but they are oil genuine Mazda parts that won't leak hopefully. I've used none genuine before and had to do the job twice!
So rebuild time..
Rear crank oil seal as it came off. Needs a clean!
Oil seal is on so flywheel can go on. Spot the mistake.
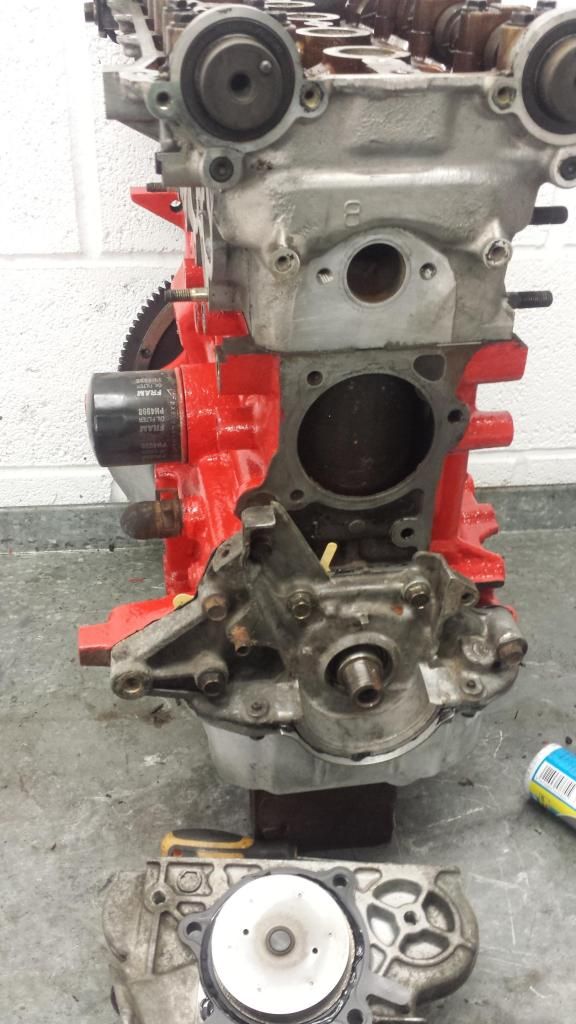
The front of the engine is cleaned up ready.
The all important crank pulley Key way is spot on.
A check of a Big end bearing and a Main bearing. perfect
Missed a pic of the oil pump going on. The engine is upside down ready to accept the sump.
and the Sump baffle plate and oil pick up pipe.
The brass fitting is threaded into the sump with the chemical metal is back up. Turbo oil return.
Water pump ready.
on the left short nose oil seal. right is long nose oil seal. You cannot swap oil pumps.
Belt and braces for the short nose crank pulley. This is quality bearing fit to secure the pulley. The pulley is new and the bolt is new, as they are a stretch bolt to be used only once. the bolt also has thread lock applied.
New cam shaft oil seals.
Cam belt fitted
Here is the mistake from earlier. No biggy but the back plate needs to be behind the flywheel.
clutch aligned and going on.
If you need a turbo oil feed then this is it. The rear one in the pic
Here we go.
Starter motor on before the manifold. Also easy to get at the bell housing bolts to bolt the engine in.
See the braided hose for the turbo oil feed.
One day the engine bay will get a clean too.
All done and runs a dream. Happy days.